DTF transfers for beginners open the door to vibrant, durable apparel decorations, offering a friendly entry point to modern garment printing. In this introductory guide, you’ll explore key concepts such as DTF printing basics and how to do DTF transfers. From choosing the right films and powders to understanding the DTF transfer process steps, this overview is designed for newcomers. You’ll also discover practical tips on DTF heat press tips and common DTF transfer troubleshooting issues to keep projects sharp. By the end, you’ll feel confident starting your own small, durable prints with a workflow that translates from hobby to small-batch production.
To frame the topic in alternative terms, many educators describe it as film-based transfer printing or direct-to-film garment transfers, which can help beginners grasp the concept more quickly. This approach emphasizes a workflow that uses a PET film base, white ink as a base layer, adhesive powder to create a stable transfer, and heat to bond designs to fabrics. As you learn, focus on the core steps—art preparation, printing on clear film, powder curing, and final pressing—without getting overwhelmed by jargon. From a beginner’s perspective, the goal is a soft hand feel, vibrant colors, and the ability to decorate a wide range of fabrics. With steady practice and attention to consistency, you’ll build a scalable system for on-demand apparel projects.
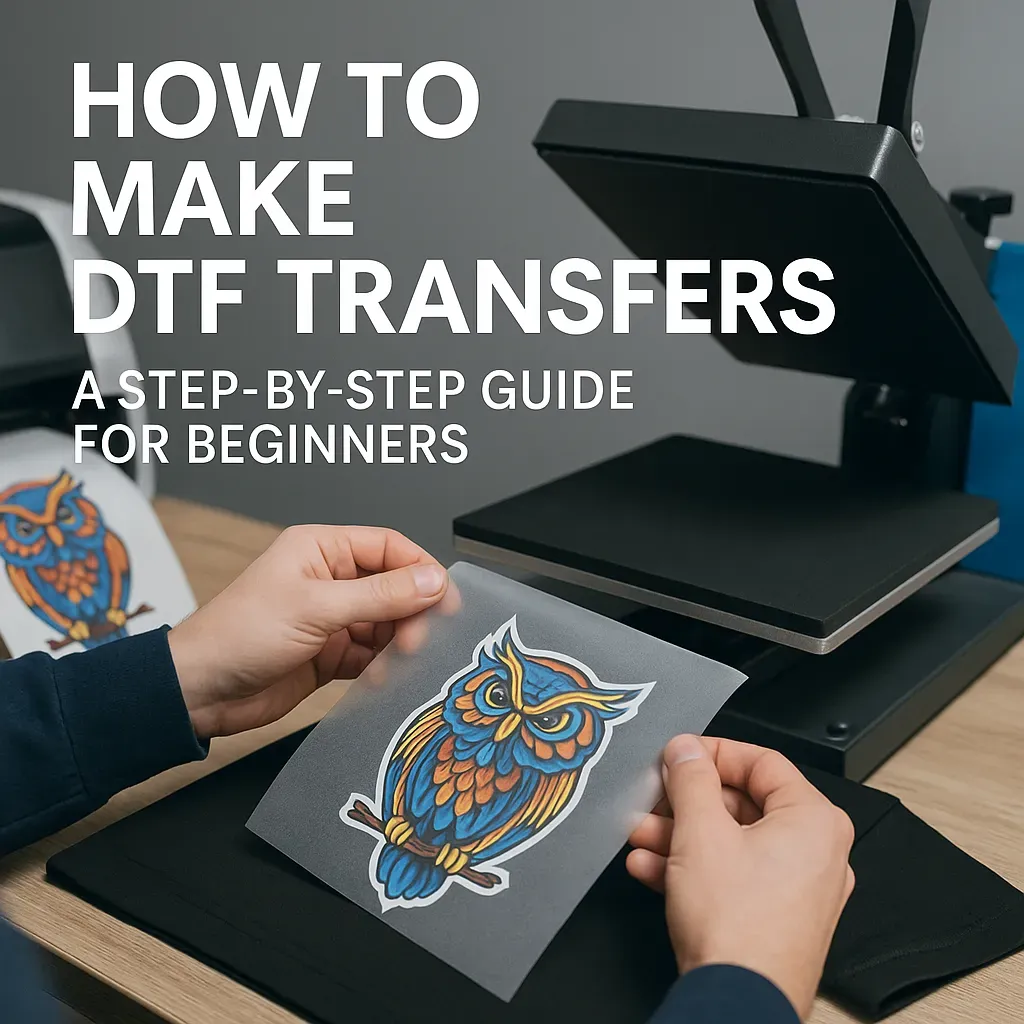
DTF transfers for beginners: Getting started with the basics and setup
DTF transfers for beginners open the door to vibrant, durable apparel decorations with a straightforward workflow. Understanding DTF printing basics helps you set realistic expectations for color vibrancy, texture, and durability, while focusing on a process that scales from hobby projects to small runs. As you learn how to do DTF transfers, you’ll build confidence by mastering a repeatable routine that reduces trial-and-error and emphasizes clean edges and reliable adhesion.
To get started, assemble the essentials: a DTF printable film, adhesive powder, a printer capable of white ink (or a dedicated DTF printer), and a compatible heat press. Familiarize yourself with the overall DTF transfer process steps so you can follow a logical sequence—from design preparation through finishing—across different projects. This foundation helps you troubleshoot early and refine your setup before moving on to more complex designs.
DTF transfer process steps: a practical workflow from design to garment
A clear grasp of the DTF transfer process steps helps you execute projects with consistency. Begin with design and preparation: create or source artwork, ensure high resolution, convert colors to the printer’s profile, and decide if a mirrored image is needed for your workflow. This stage sets the stage for successful printing and accurate color reproduction.
Next comes the practical flow: printing on DTF film, applying and curing the adhesive powder, and preparing the garment for transfer. As you move through the steps—pre-pressing the fabric, then transferring the design with the heat press and finishing—keep the guidelines for DTF heat press tips in mind to optimize bond strength and minimize edge curl. Finally, complete post-press care and troubleshooting to ensure lasting results and easy evaluation of future tweaks.
DTF printing basics: selecting materials and color strategies
DTF printing basics cover the core materials and initial setup that influence every result. Choose the right DTF printable film, adhesive powder, and inks, paying attention to compatibility with your printer and fabric types. Understanding these basics helps you maximize color vibrancy, edge sharpness, and overall durability across a range of fabrics.
Color strategy is essential for achieving predictable outcomes. Work with the recommended color profiles, perform test prints, and calibrate prints against target swatches. The goal is consistent color reproduction on light and dark fabrics alike, which often requires balancing white ink layers and fabric background without sacrificing detail in gradients and fine lines.
DTF heat press tips: achieving clean, durable transfers
DTF heat press tips focus on achieving even heat, sufficient pressure, and correct timing to create durable transfers. Set your press to the recommended temperature range (often around 160–170°C) and maintain a stable press time (commonly 15–25 seconds) for reliable adhesion. Use even, steady pressure and monitor for any hot spots that could affect edge integrity or color transfer.
Practical considerations during pressing include pre-warming the garment, protecting the surface with silicone sheets, and handling the carrier film during peeling while it’s still warm or after a brief cooldown per your product guidelines. Trying a few test passes on scrap fabric can help you fine-tune pressure and time across different fabric blends, ensuring that you consistently achieve a smooth, soft hand on the finished garment.
DTF transfer troubleshooting: fixes and optimization for consistency
DTF transfer troubleshooting is a crucial skill for maintaining quality and reducing waste. Common issues like incomplete adhesion, peeling edges, or white ink coverage gaps often point to powder curing, adhesive quality, or incorrect press settings. By diagnosing these symptoms against documented guidelines, you can apply targeted fixes and keep projects moving forward.
Optimization comes from disciplined testing and documentation. Maintain a checklist of test prints that capture temperature, time, and pressure combinations, and compare results across fabrics and inks. Regularly review color calibration, substrate behavior, and humidity levels, and re-test after any equipment or media changes to ensure consistent results and ongoing improvements in your DTF transfer workflow.
Frequently Asked Questions
DTF transfers for beginners: what are they and why start with them?
DTF transfers for beginners are a direct-to-film decoration method that prints artwork onto a transparent film, applies adhesive powder, and then heat-presses the design onto fabric. They offer a forgiving entry point because they work well on many fabrics, provide a soft hand feel, and deliver vibrant colors with a straightforward workflow—an approachable path for those exploring DTF printing basics. The typical process follows design, printing on film, powder curing, preparing the garment, and heat pressing for a durable finish.
How to do DTF transfers: a beginner-friendly overview of the basic workflow
To do DTF transfers as a beginner, start with a clear design and the proper printer profile, print on DTF film with a white ink base when needed, apply adhesive powder and cure, prep the garment, and finish with a heat press at the recommended temperature and time. Test prints are essential to verify color accuracy and alignment before final production. Peel the carrier while warm or after a brief cooldown per your material guidelines to ensure clean results.
DTF transfer process steps: what are the essential steps beginners should know?
Key DTF transfer process steps for beginners include: 1) design and preparation, 2) printing on DTF film with correct side and color settings, 3) powder application and curing, 4) garment preparation, 5) transfer and finishing with proper heat press settings, and 6) post-press care and troubleshooting. Following these steps consistently helps you achieve durable, vibrant transfers and minimizes common issues.
DTF heat press tips for beginners: what should you know to improve results?
DTF heat press tips for beginners include maintaining consistent pressure and even heat distribution, starting with standard settings (for example around 160–170°C / 320–338°F for 15–25 seconds as a baseline), preheating the garment, using protective sheets, and performing test presses on swatches. Calibrate color and ensure the correct film side before pressing. Document your settings to reproduce successful results across fabrics like cotton, blends, and polyester.
DTF transfer troubleshooting: common issues beginners face and how to fix them
DTF transfer troubleshooting focuses on issues like incomplete adhesion, white ink coverage gaps, color mismatch, or edge curl. Fixes include ensuring proper powder curing and adhesive quality, verifying the print color profiles, performing color calibration, adjusting pressure or time, and using the correct peel method. Always test on fabric swatches and consult your media supplier’s guidelines for best results.
| Topic | Key Points |
|---|---|
| What are DTF transfers for beginners? | DTF stands for direct-to-film. In a DTF workflow, artwork is printed onto a clear PET film using white ink and color inks, then adhesive powder is applied and melted to create a transfer sheet. This sheet is placed onto fabric and heat-pressed to transfer the design. Benefits for beginners include versatility across fabrics, a softer feel, bright color reproduction, and a straightforward workflow that can scale from hobby projects to small- and mid-sized production. |
| Why choose DTF transfers for beginners? | DTF transfers offer a forgiving entry point for learners, especially on a budget. You don’t need to worry about curing times for multiple layers, and you can reproduce detailed designs with fine lines and gradients. They support print-on-demand, can be stored as transfers, and can be pressed onto a wide range of fabrics, enabling quick results and durable finishes. |
| Core steps: DTF transfer process steps | 1) Design & preparation: Create or source artwork with high resolution; use vector elements for clean edges; convert colors to the printer’s color profile; prepare a mirrored image if required; save files as print-ready PNG/TIFF with transparent background if needed. 2) Printing on DTF film: Load the film correctly; ensure the correct side faces the print head; use white ink as the base layer when needed; print a test run for color accuracy and alignment. 3) Powder application & curing: Apply adhesive powder evenly while ink is tacky; cure per manufacturer guidelines so the powder fuses with the film. 4) Preparing the garment: Pre-wash and dry the garment; set up a clean, flat surface with protective sheet. 5) Transfer & finishing: Place the transfer sheet on the garment; press at the recommended temperature/time; peel while warm or after a brief cooldown per guidelines; optional second press for better adhesion. 6) Post-press care & troubleshooting: Cool fully before wash; re-test and adjust parameters if issues arise. |
| Choosing the right tools and materials | DTF printable film and adhesive powder; a printer that supports white ink or a dedicated DTF printer; a compatible heat press with even heating and adjustable pressure; hot platen cover and silicone sheets; cleaning supplies and calibration tools to maintain print accuracy. |
| Optimization tips for beginners | Start with simple designs to build confidence; use high-contrast color schemes; calibrate color with test prints; practice consistent pressure across fabrics (cotton, blends, polyester); document temperature, time, and pressure settings for reproducibility. |
| Troubleshooting common issues | Incomplete adhesion or peeling edges: check powder curing, adhesive quality, blanket temperature, and press time. White ink not covering fully: reprint or adjust ink density. Color mismatch: verify color profiles and calibrate; consider increasing print quality or using RIP software. Gel-like feel: reduce total transfer time or adjust post-press cure if permitted. |
| Practical tips for ongoing success | Keep a dedicated workspace to reduce dust; label transfer sheets with design and settings; maintain stable room temperature and humidity; use a simple quality control checklist for each project. |
| Advanced considerations for growth | As you gain experience, explore different fabrics and substrates; test various cooling intervals and peel strategies; experiment with multi-layer designs; consider workflow automation with RIP software and offline color management for larger runs. |
Summary
DTF transfers for beginners offer a practical, high-quality route into garment decoration. By understanding DTF printing basics, mastering how to do DTF transfers, and following reliable DTF transfer process steps, you’ll build confidence and craft stunning designs. With careful equipment selection, consistent practice, and a willingness to troubleshoot, you’ll achieve durable, vibrant transfers suitable for a range of garments and markets.

